To activate, click on “Get started”. Activation can be performed by users who have the permission to Manage Settings. After activation, Vendor Management will be available to eligible users in your organisation.
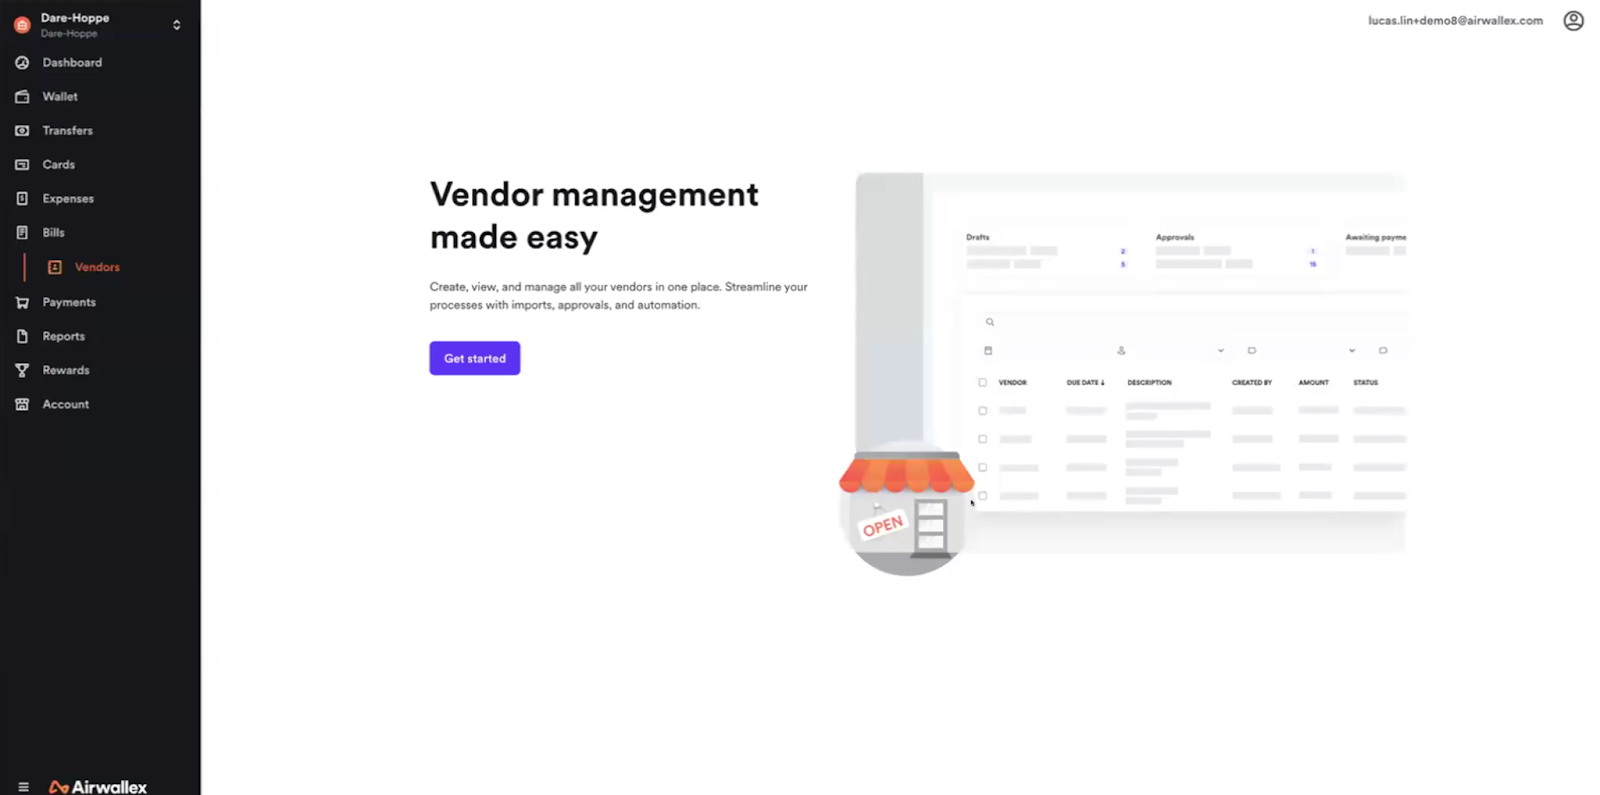
To activate Vendor Management, click on “Get started”. This action can only be performed by users who have the permission to Manage Settings for vendors. Once activated, Vendor Management will become available to users with Vendor Management permissions within your organisation.
The first thing to do is to click the ‘Import’ button. This populates Vendor Management with existing vendors in your accounting provider. Airwallex automatically pulls all of the below details, including bank account information:
- From your accounting provider: Vendor name, payment information, contact information, and business registration number
- From Airwallex Contacts: If a vendor was previously paid in Airwallex as a Transfer Contact, those bank details will also be automatically copied and added to the vendor record.
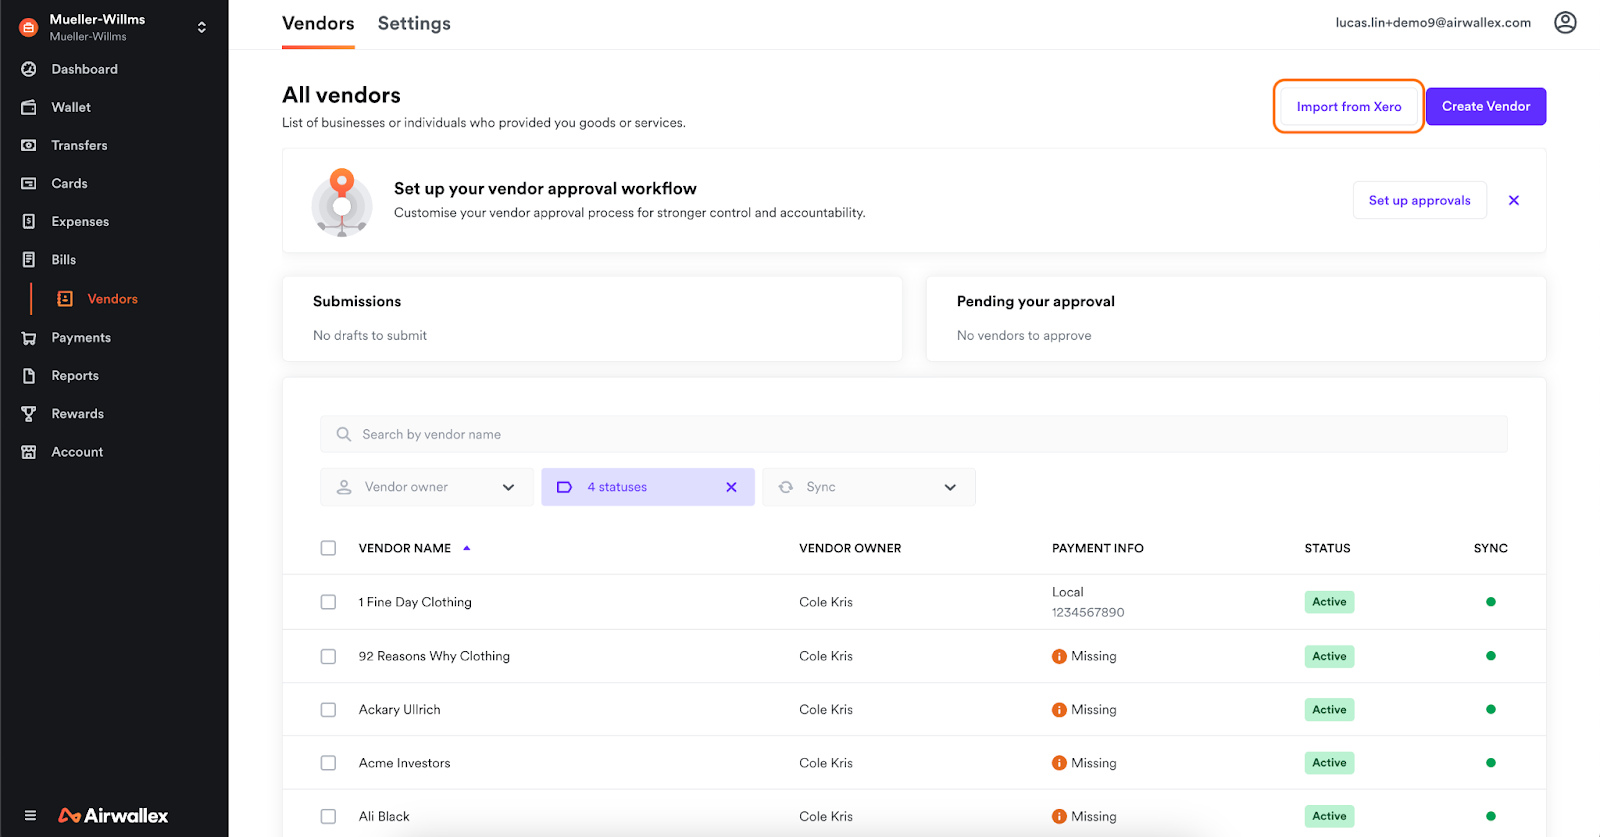
Once imported, vendors will appear as ‘Active’ and can immediately be used for coding and paying bills. In addition to manual imports, vendors are also imported automatically when you import bills that contain new vendor information.
Get started by importing your existing vendors from Xero (we will only import suppliers, not customers), NetSuite, or QuickBooks. We support importing vendor bank details in the following formats. If your details are supported in a format on this list, contact us for additional support before importing.
| Type |
| ABA |
| HSBC ISO 20022 (Hong Kong) |
| BACS |
| HSBC ISO 20022 (Singapore) |
| DBS - IDEAL |
| HSBC Faster Payments |
| HSBC CSV Faster Payments |
| BNZ |
| ANZ |
| ACH - CCD/PPD |
| ANZ Direct |
If you’ve recently created new vendors in your connected accounting system and want to ensure they are available in Airwallex, you’ll need to refresh your accounting provider connection. To do this, navigate to Settings, click on Connections, select Expenses and Bills, and then click ‘Refresh Connection’. This step updates the connection and brings in any newly added vendors.
